How To Add and Edit Supplemental Listings

Written by Jenna Tighe
Updated at June 6th, 2023
- Agent Elite University
- My Account
- Agent Elite Max (CRM)
- Design Studio
- Local Presence
-
Website
Real Estate Specific (Click here for a full list of articles) Email Marketing Automation and Integration (Click here for a full list of articles) Integrations Landing Pages Single Property Websites & Flyers Blogs Mortgage Specific (Click here for a full list of articles) Analytics IDX Search Engine Optimization (SEO) Team Marketing Automation
- Facebook Ads
Add Supplemental Listings
From your CRM, go to Listings on the top menu. Then go to Supplemental on the left menu. Then click Add A Supplemental.

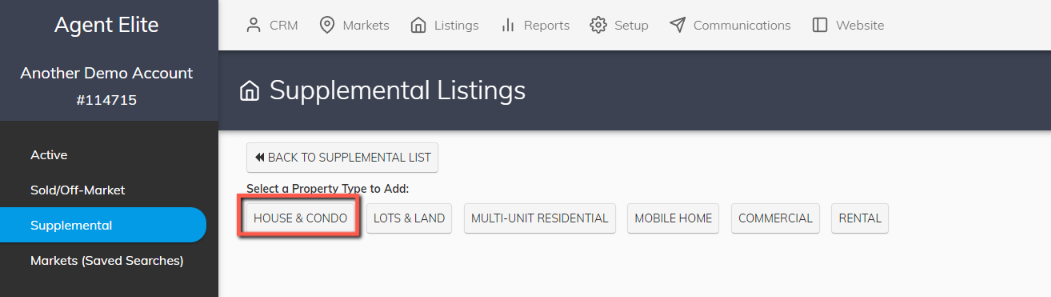
Select the property type.
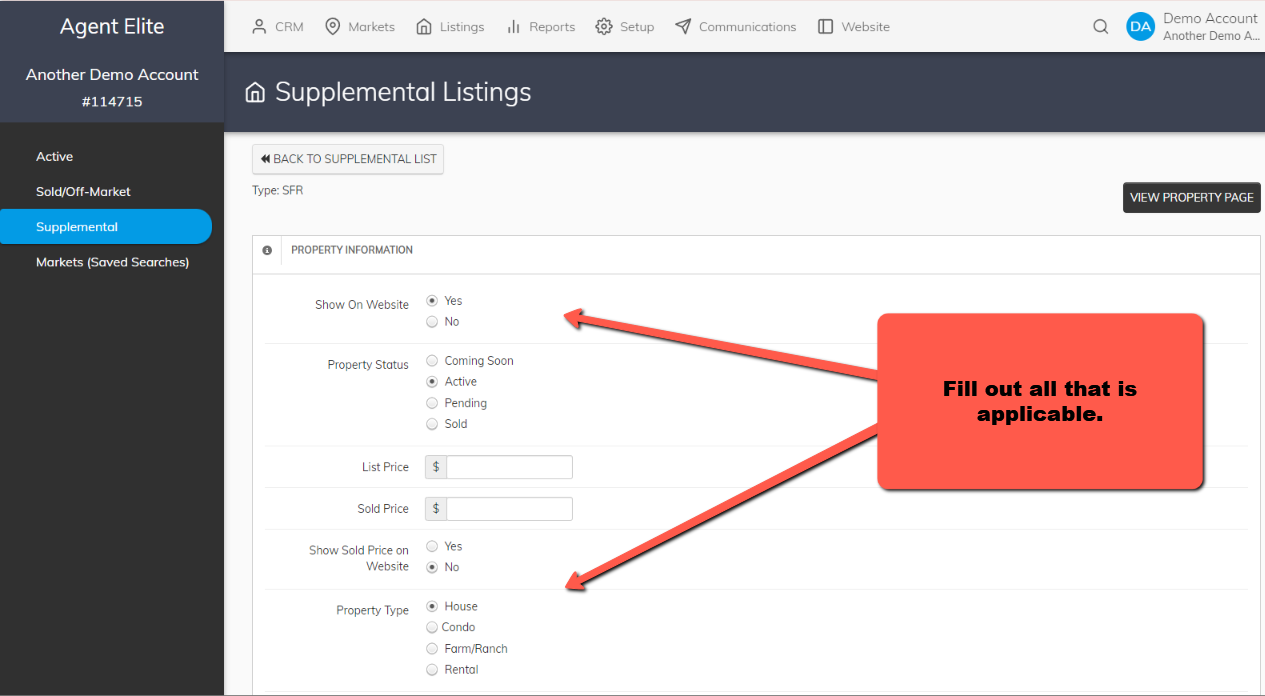
Add the property information into each input. You can always link it blank if you do not have the details.
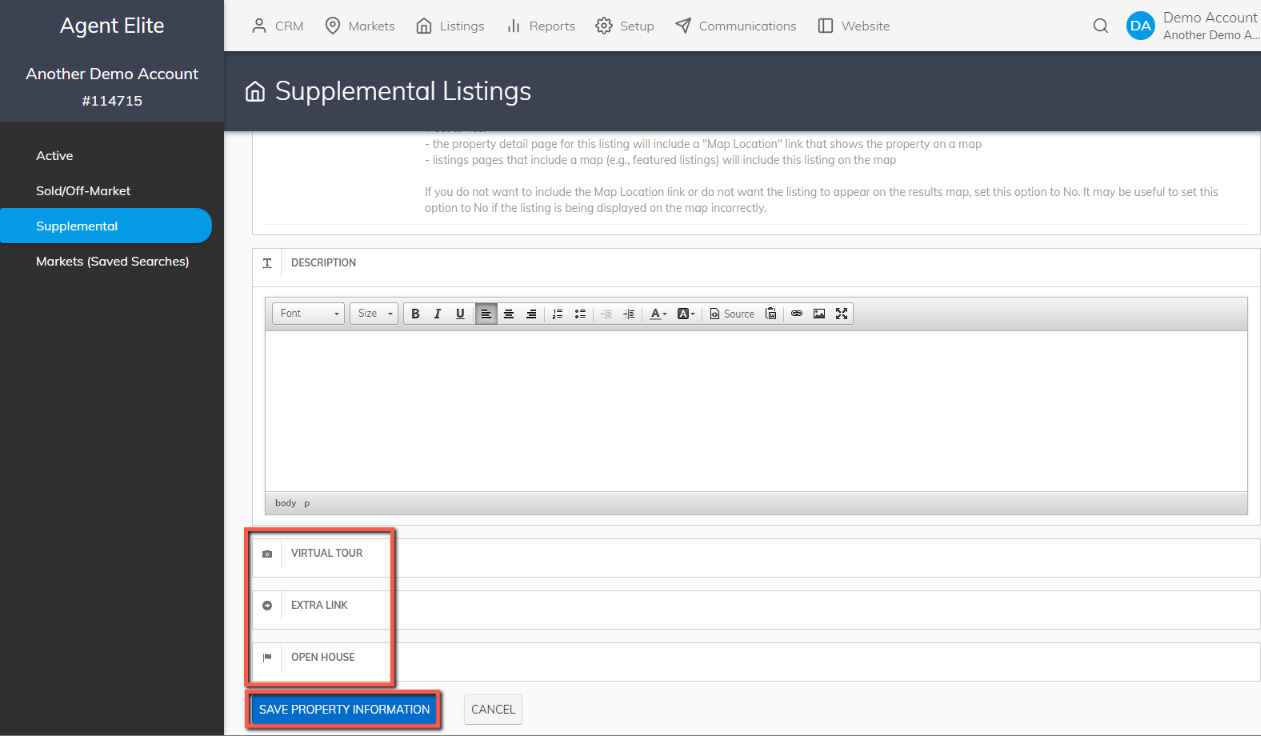
Add the property description.

You can add a link to the virtual tour and/or toggle it on or off.
Add any external links and/or toggle them on or off.
Add any open house information
Click on Save Property Information. To add images, you have to fill this first portion out and save property information, and then it’ll take you to add images.
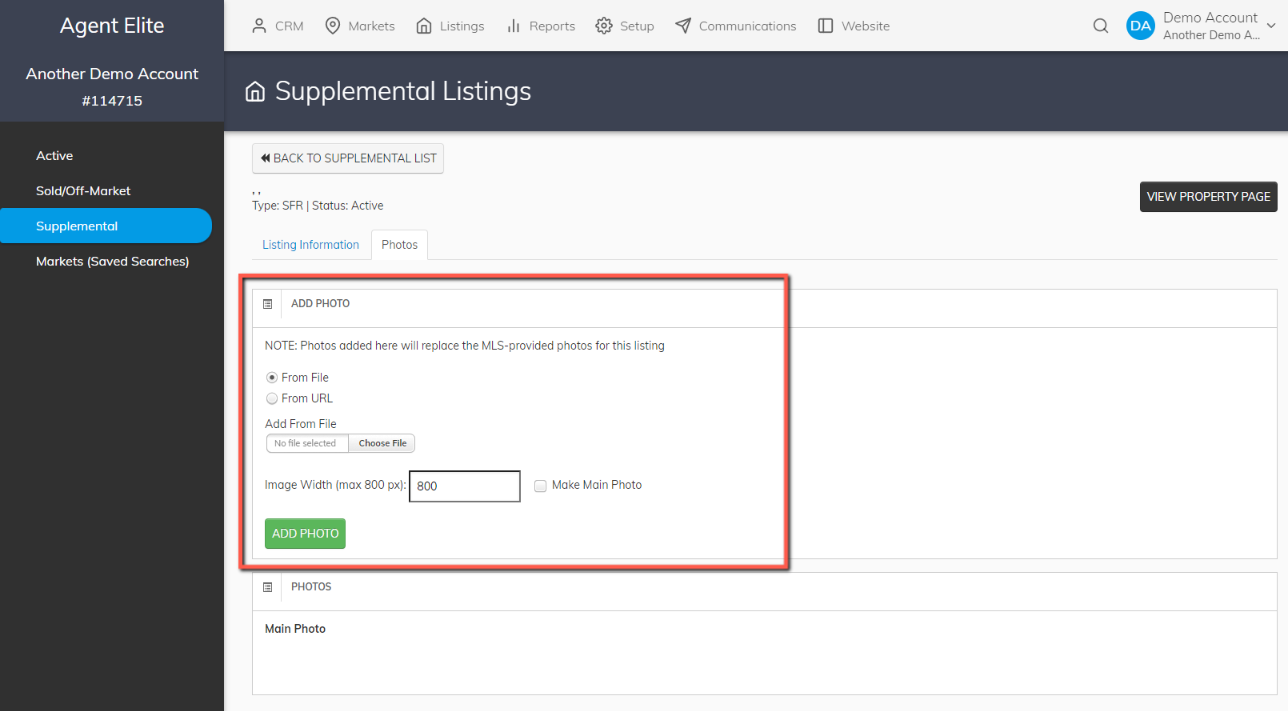
Add your photos here. You can select to upload from your computer or use a file URL to upload the image. There needs to be at least one Main photo. You are only able to upload one image at a time.
To use “From URL,” copy and paste the URL in the empty box and click on Add Photo.
To upload a file, click on the blank empty box to the right, under where it says Add From File. This will open your file manager on your computer, select the image you want to use and then click on Add Photo.
Edit Supplemental Listings
In your CRM, go to Listings and then Supplemental. You can click on Show to view what the page will look like or Delete to delete it on the right side. To open the page to edit the details, click on the blue hyperlinked address on the left side.

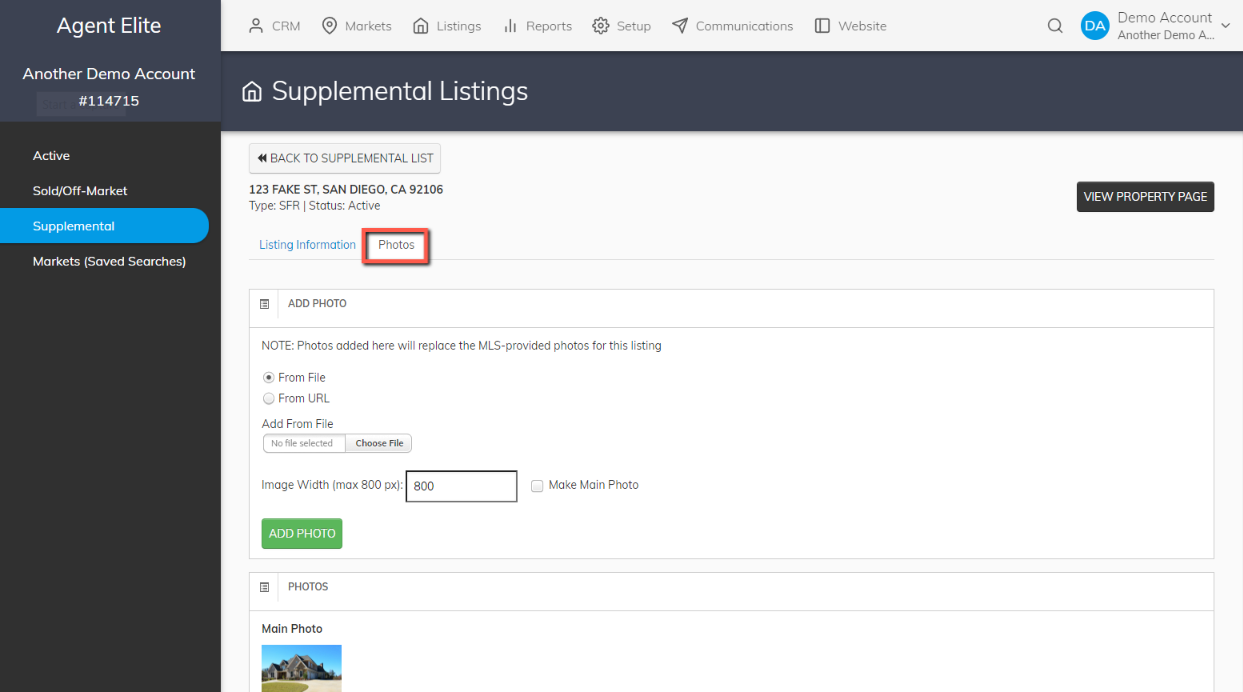
To edit any listing details click on the block title you want to update to open the editor. To edit the image, click on the Photos tab.

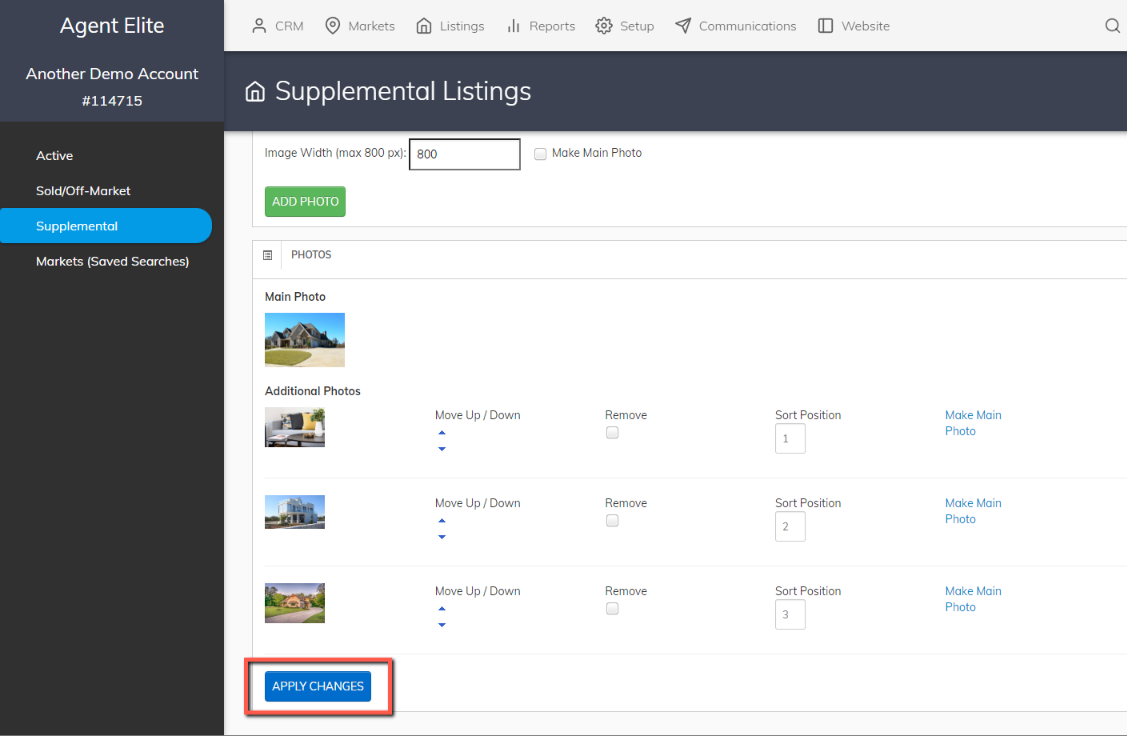
Click on the Photos tab to add more images, remove/change the order of the images, and change the main photo.
Click on Apply Changes to save.